All About The Brand section
How to Edit brand details?
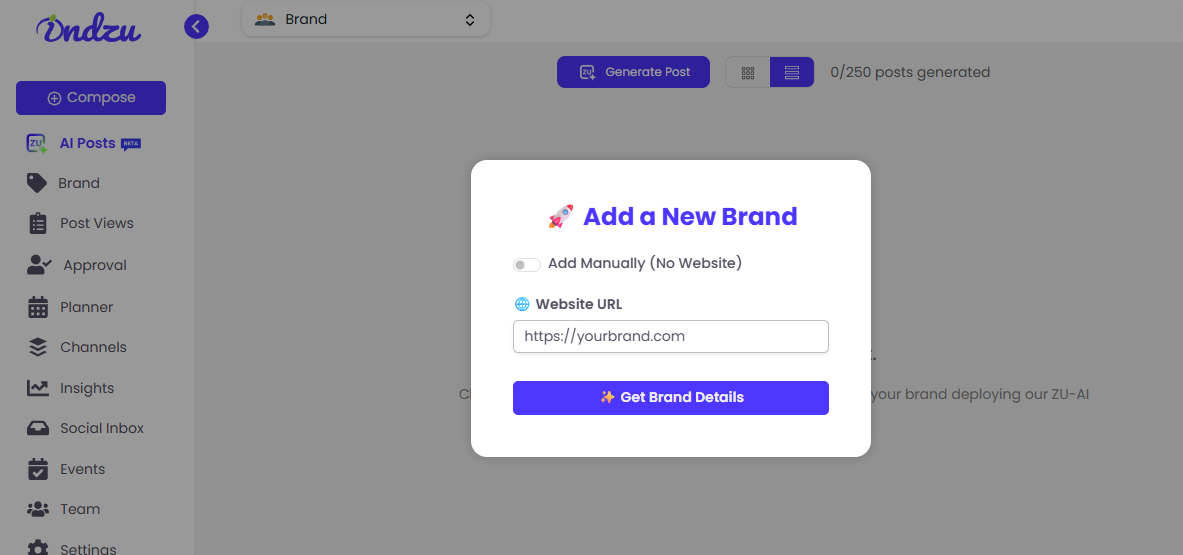
Only by adding your brand’s website you are ready to start with Indzu. But if you want to edit your brand details, you can.
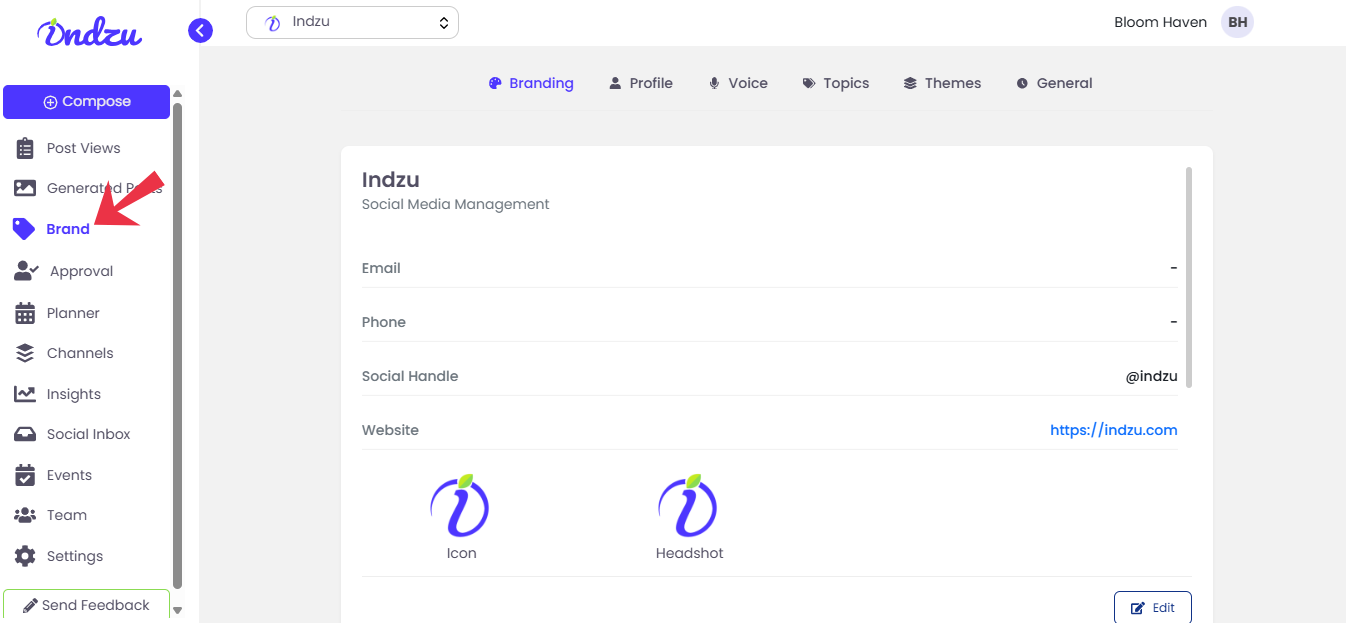
Step 1: Click on “Brand”
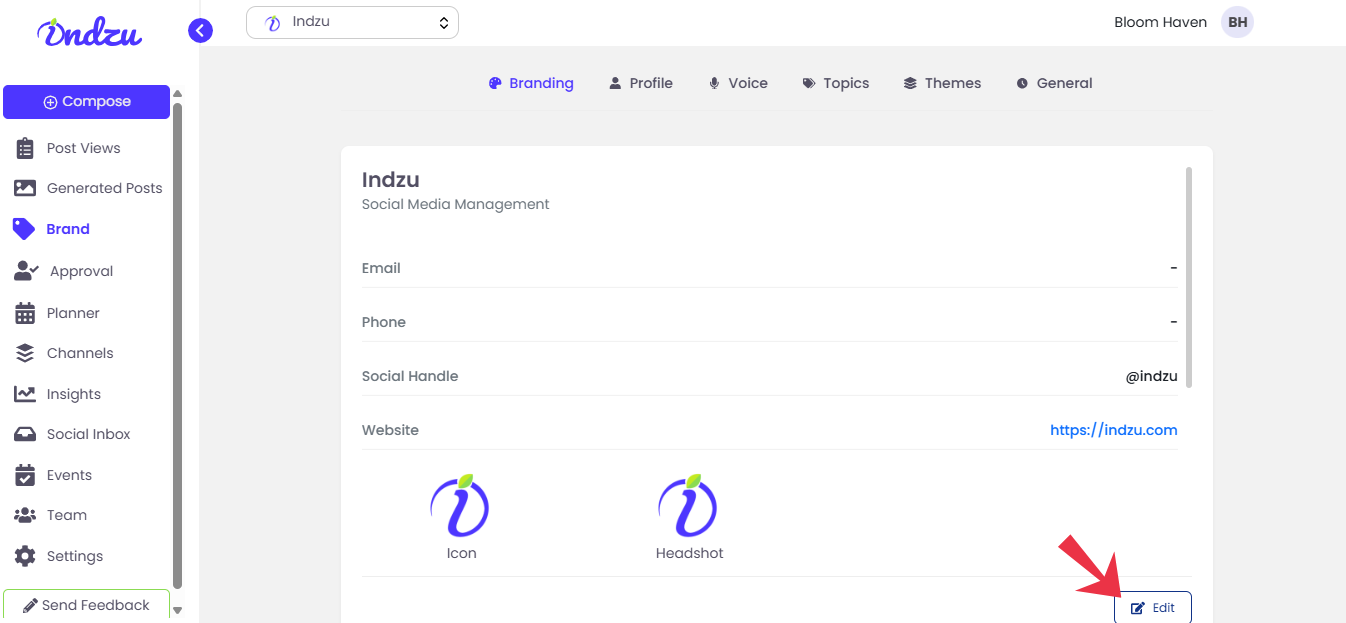
Step 2: Click on “Edit” in the bottom of the screen.
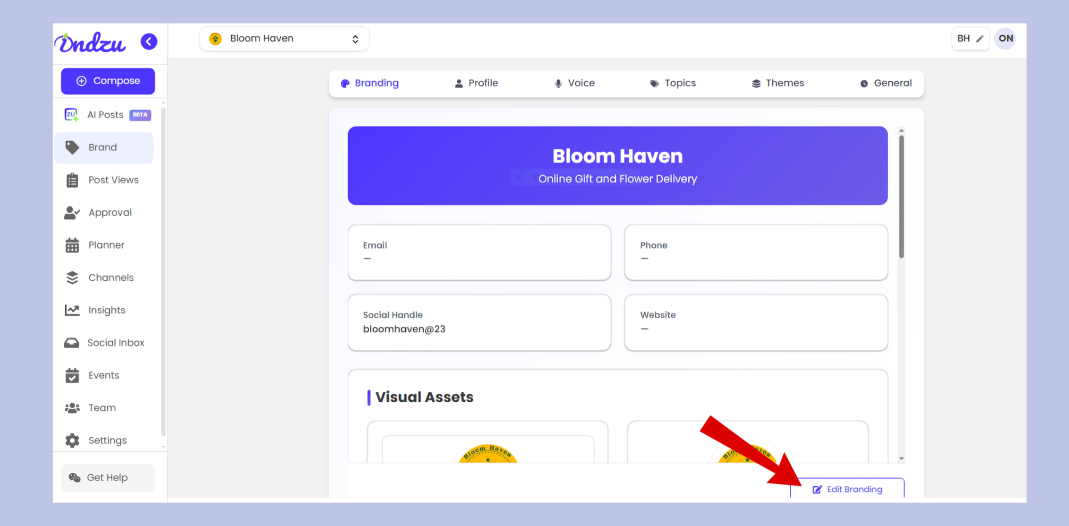
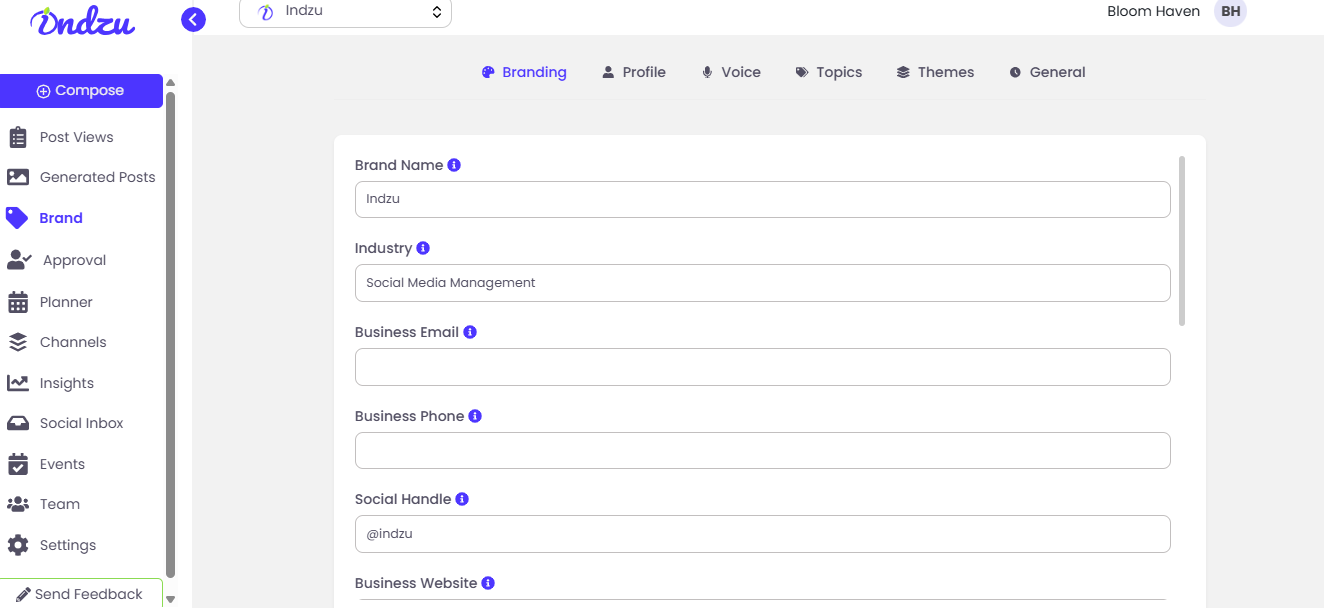
Step 3: Brand Name is entered through your website URL. If not, edit the brand
name.
Step 4: Your industry details are pulled from the website URL. If not, edit the
Industry”. name. (Which industry do you belong to)
Step 5: Edit your Business Email.
Step 6: Enter your Business Phone Number. if not added.
Step 7: Edit your Social Handle if not correct.
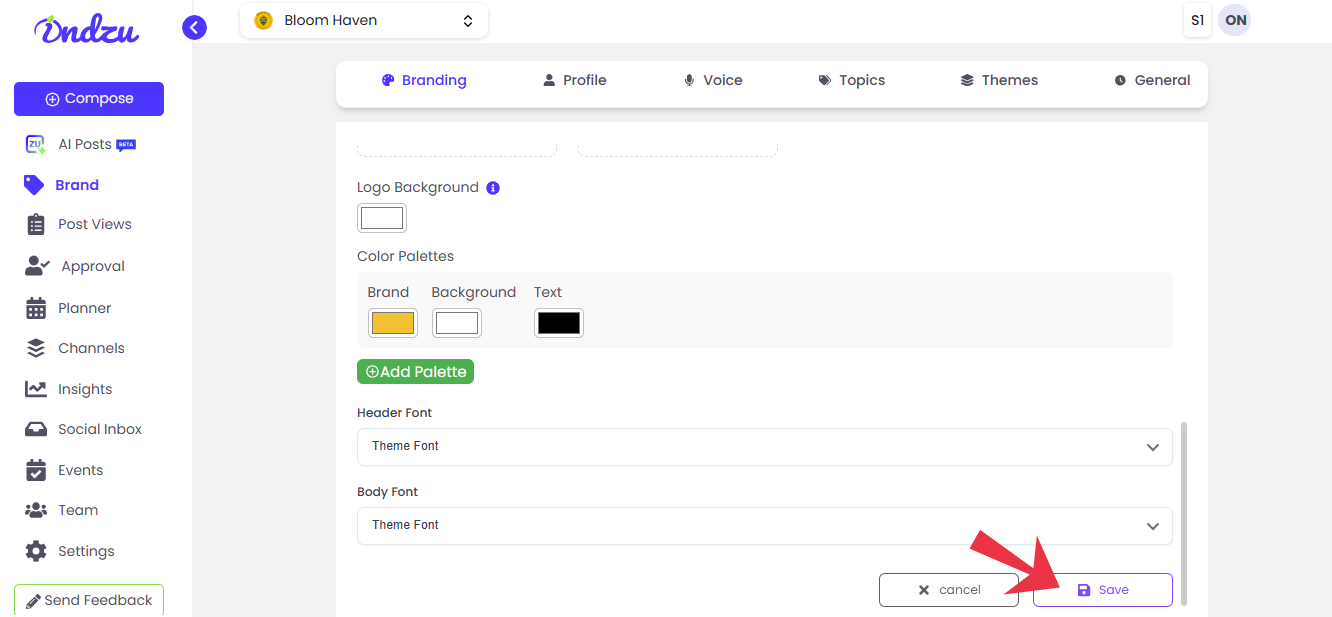
Step 8: You can change the logo and headshot images, and can change the logo background.
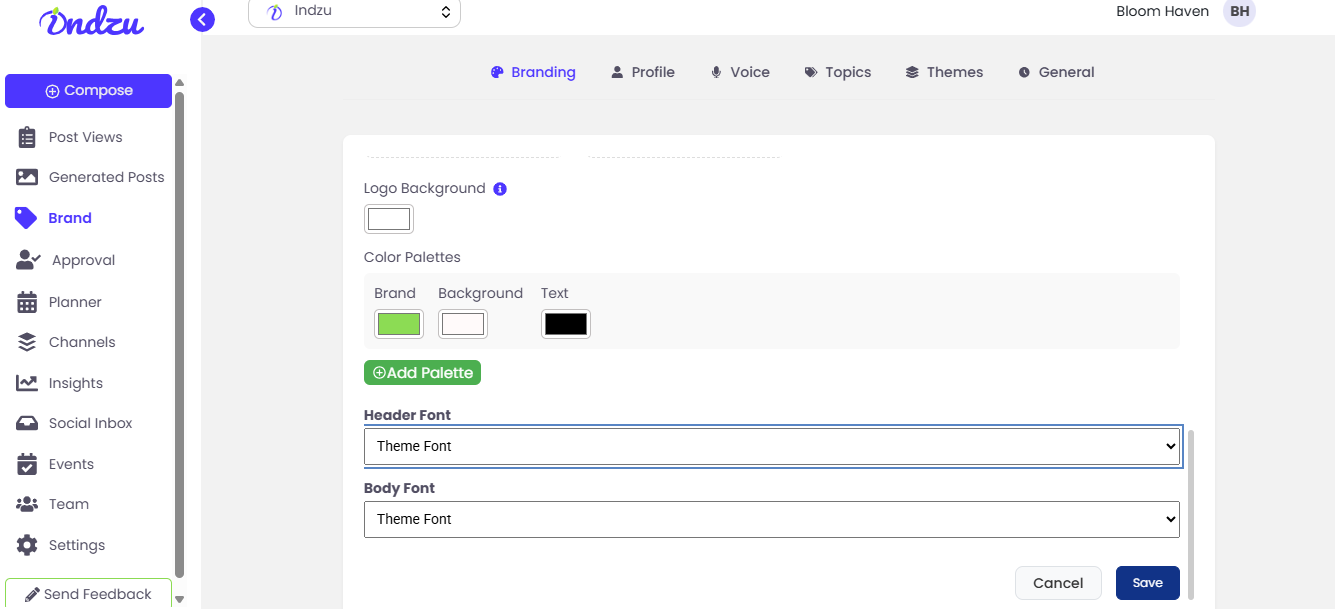
Step 9: Your brand color is updated automatically from the website URL. If there is a difference, select a different color from the color palette.
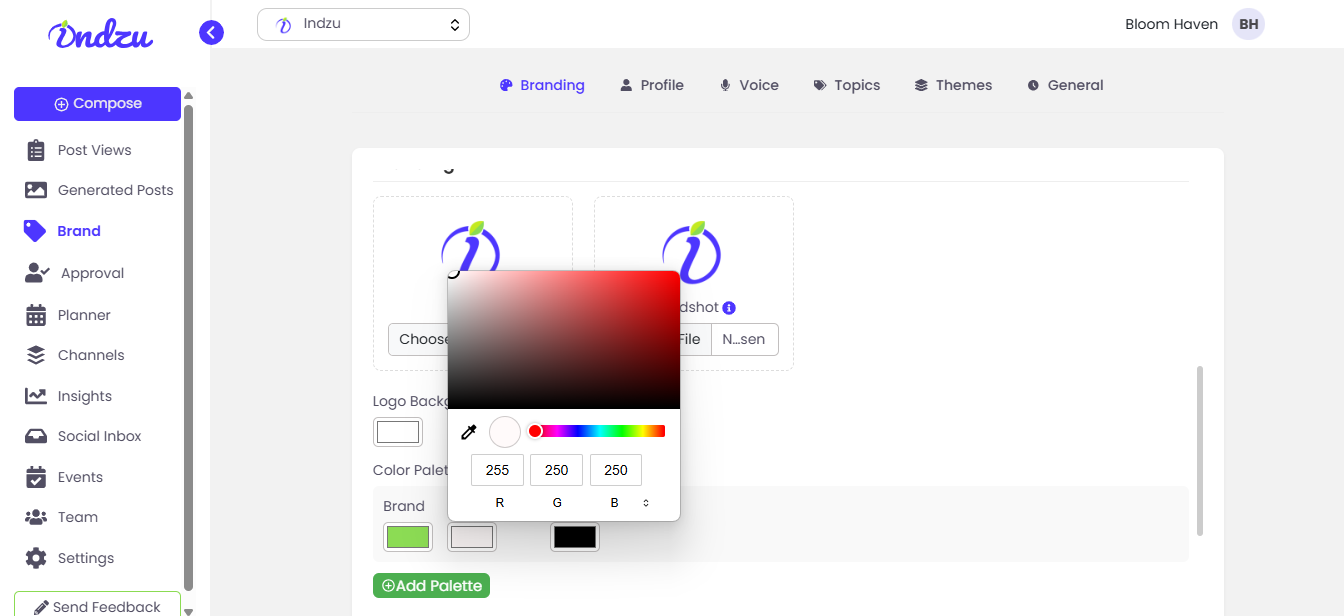
Step 10: You can select a color for your Brand, Background, and Text.
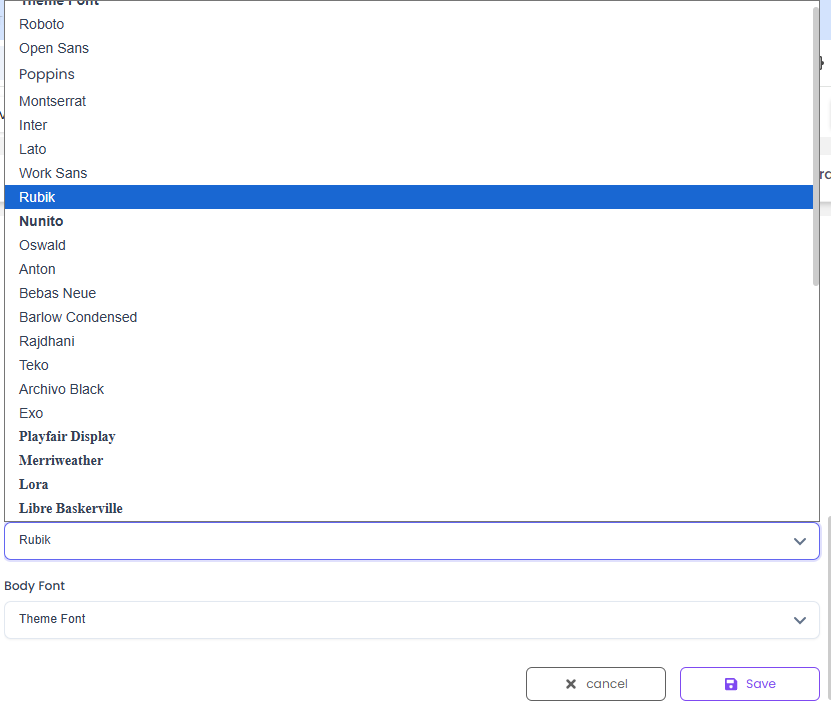
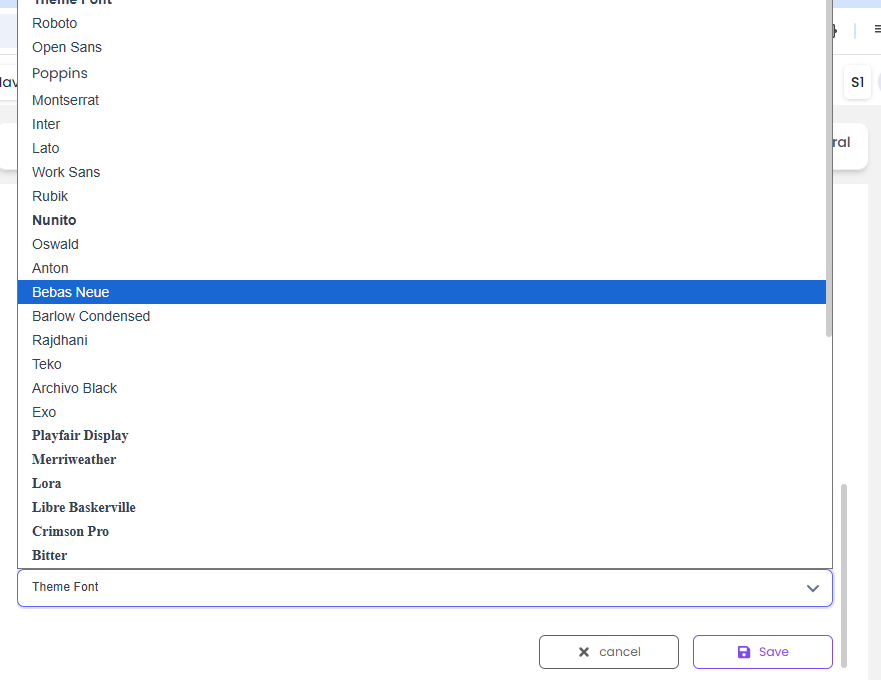
Step 11: You can edit the Header Font and Body Font.
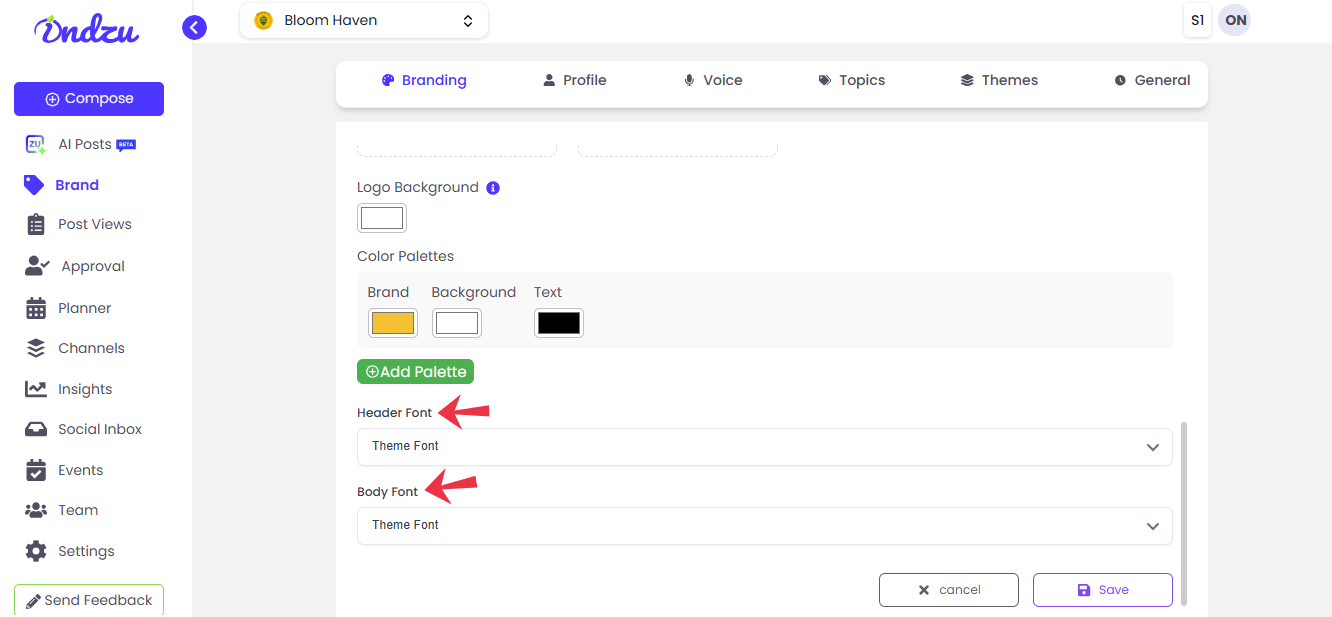
Step 12: Theme Font (is the default setting). You can click on the drop-down arrow and select and explore different styles of Fonts.
For Header Font
For Body Font
Step 13: Click “Save”.
How to edit the Business Profile?
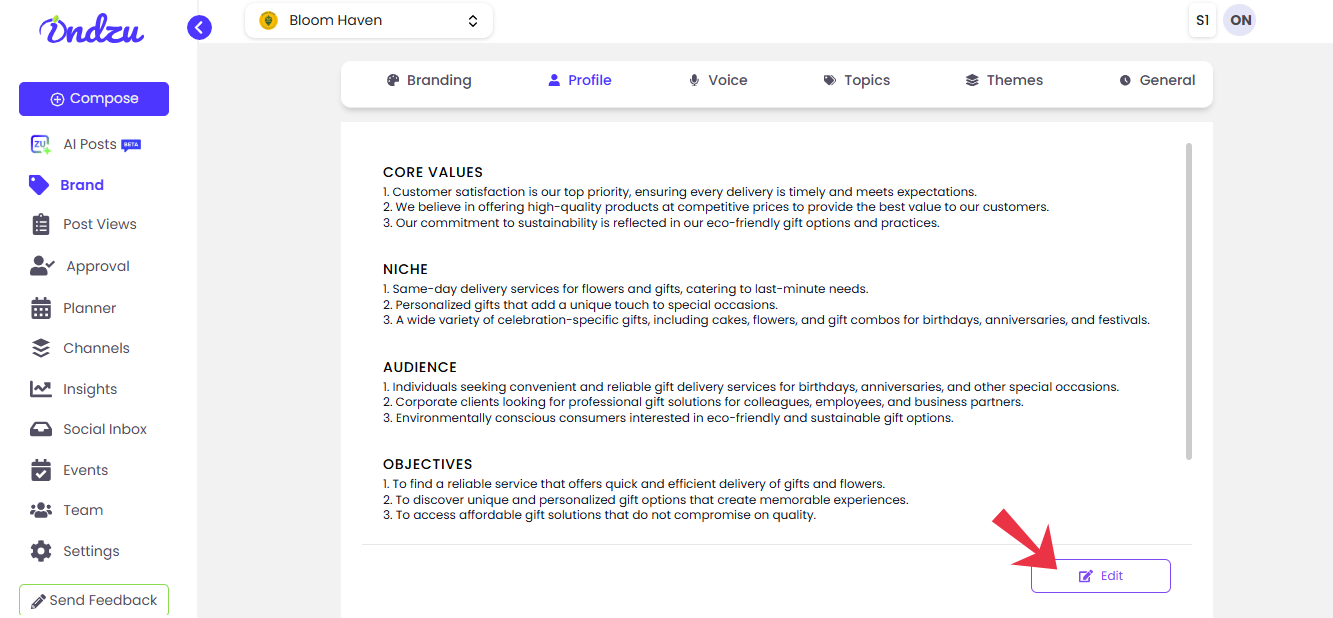
Step 1: In the “Brand” section, click on the “Profile “. You will get an overview of your profile
Profile contains five sections:
- Core value
- Niche
- Audience
- Objectives
- Pain points
Step 2: Click on “Edit”
Step 3: Edit the following category mentioned above.
Step 4: Click “Save”.

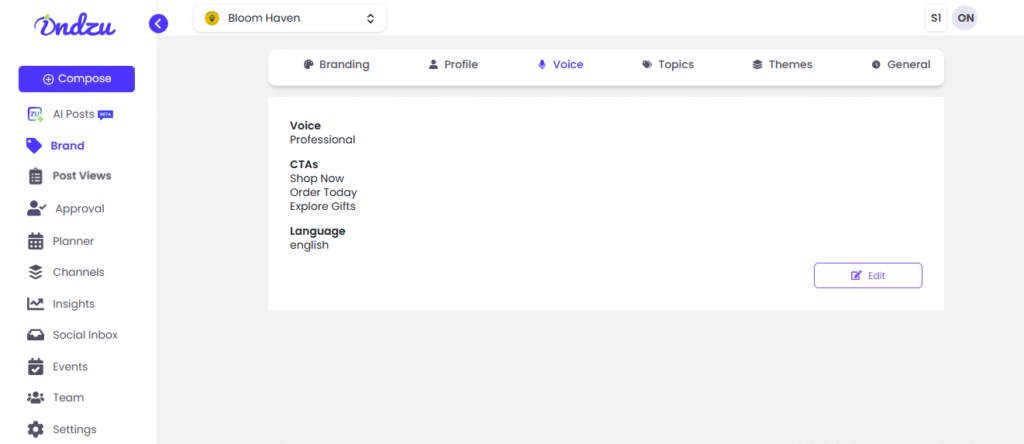
How to edit the voice?
Step 1: In the “Brand” section, click on the “Voice“. Under this section, you can change the
tone of your content. The following subsections are:
Voice
Call to actions (CTAs)
Language
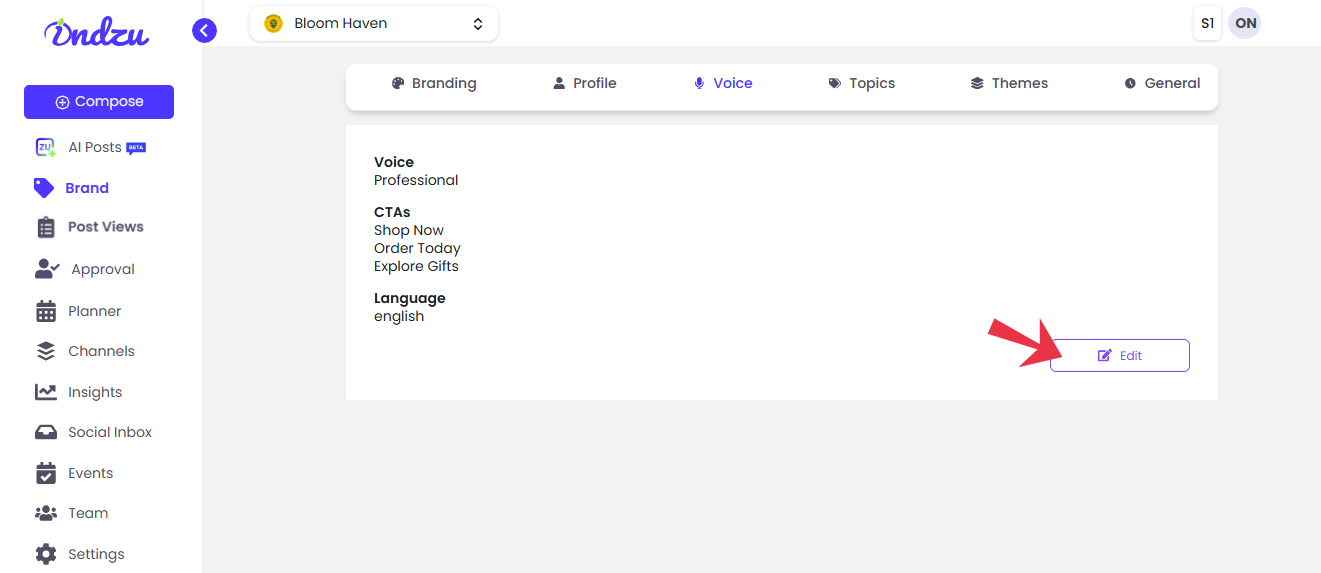
Step 2: Click “Edit”
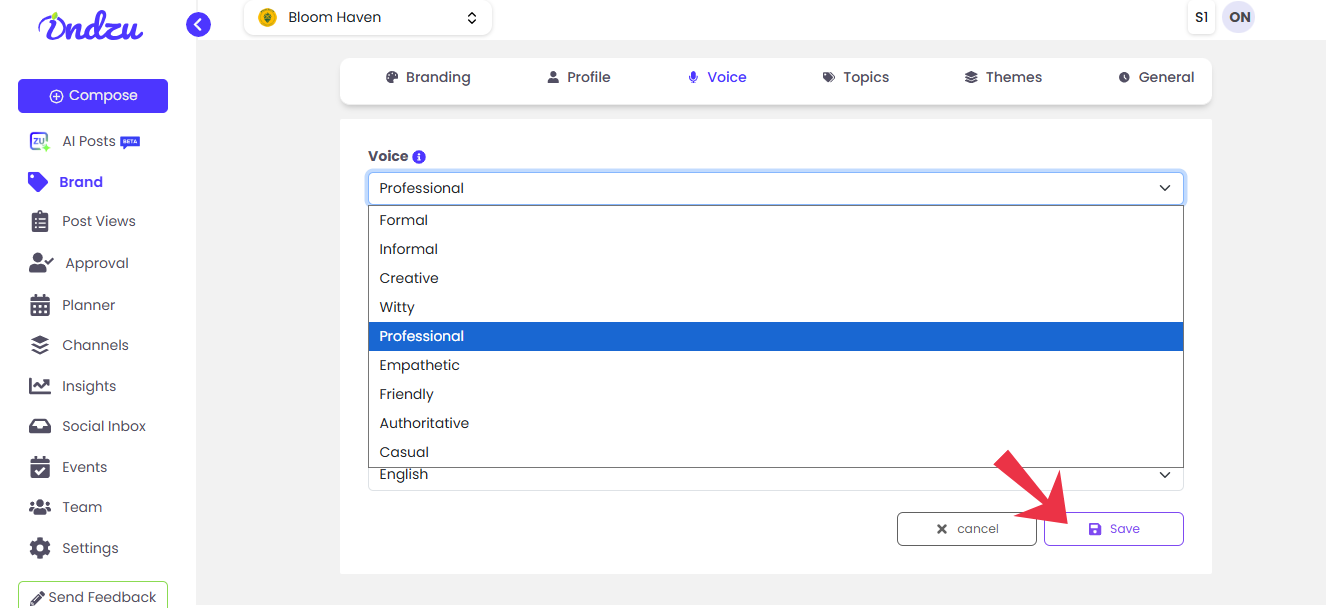
Step 3: You can edit the voice, add a call to action, and post-edit the post language.
Step 4: You can change the voice according to the given choice shown in the image.
Options are:
1. Formal
2. Informal
3. Creative
4. Witty
5. Friendly
6. Professional
7. Empathetic
8. Casual
9. Authoritative
Step 5: Next, you can edit the “Call to Action”
Step 6: You can add the type of “Call to action” you want. And delete it as per your wish.
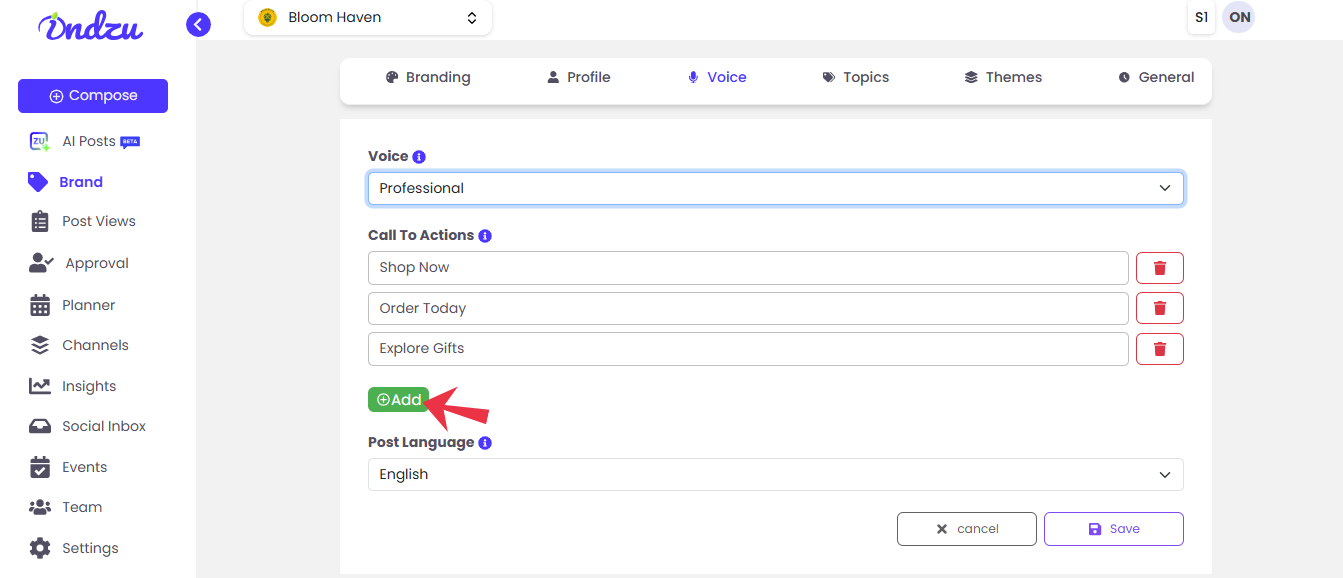
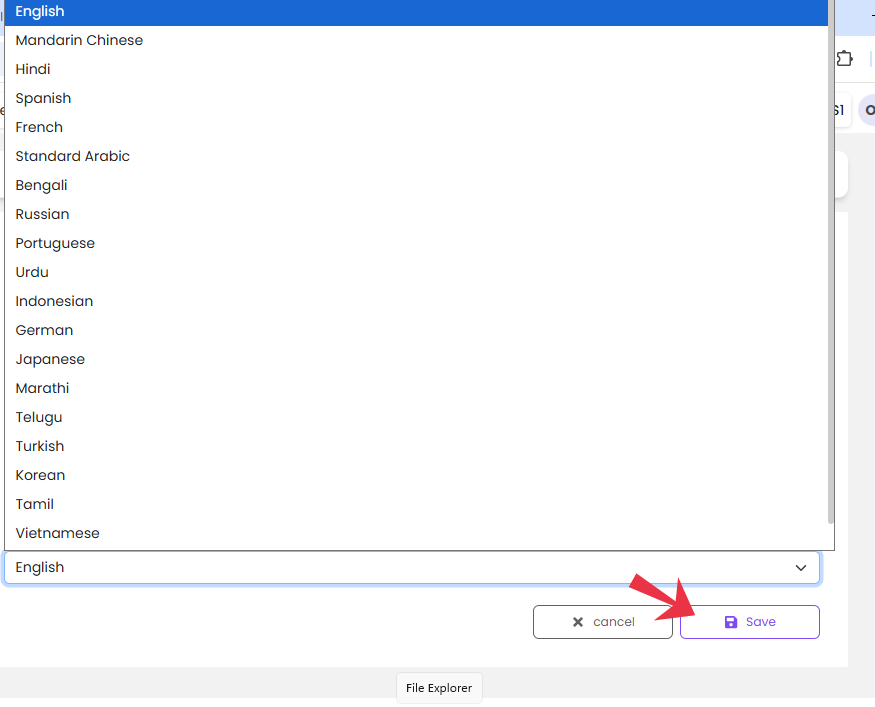
Step 7: You can change your post language. Choose your preferred language from the 22
available languages.
Step 8: After you have made all the changes. Click “Save”
How to change the Topics?
Under the brand section, you can find different topics which you can use to generate your post.
These topics are created by AI according to the website’s brand URL and the type of industry you belong to.
You can create your new category to add more value to the posts.
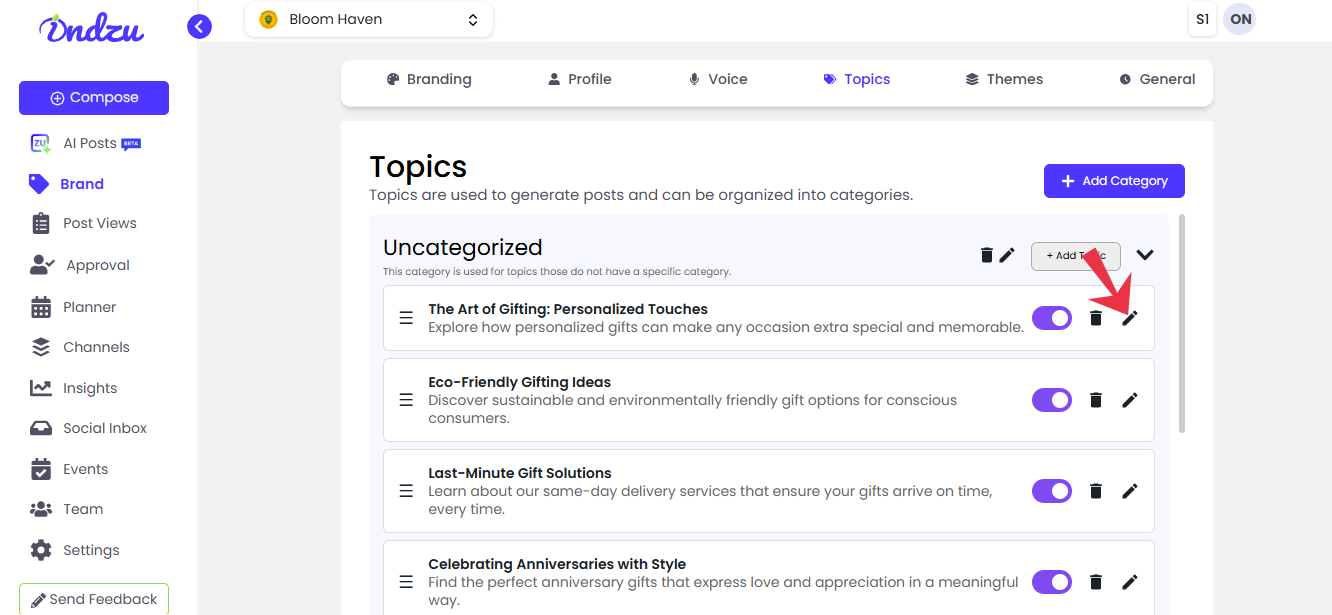
Step 1: Click the “Pencil icon” of the topic you want to edit.
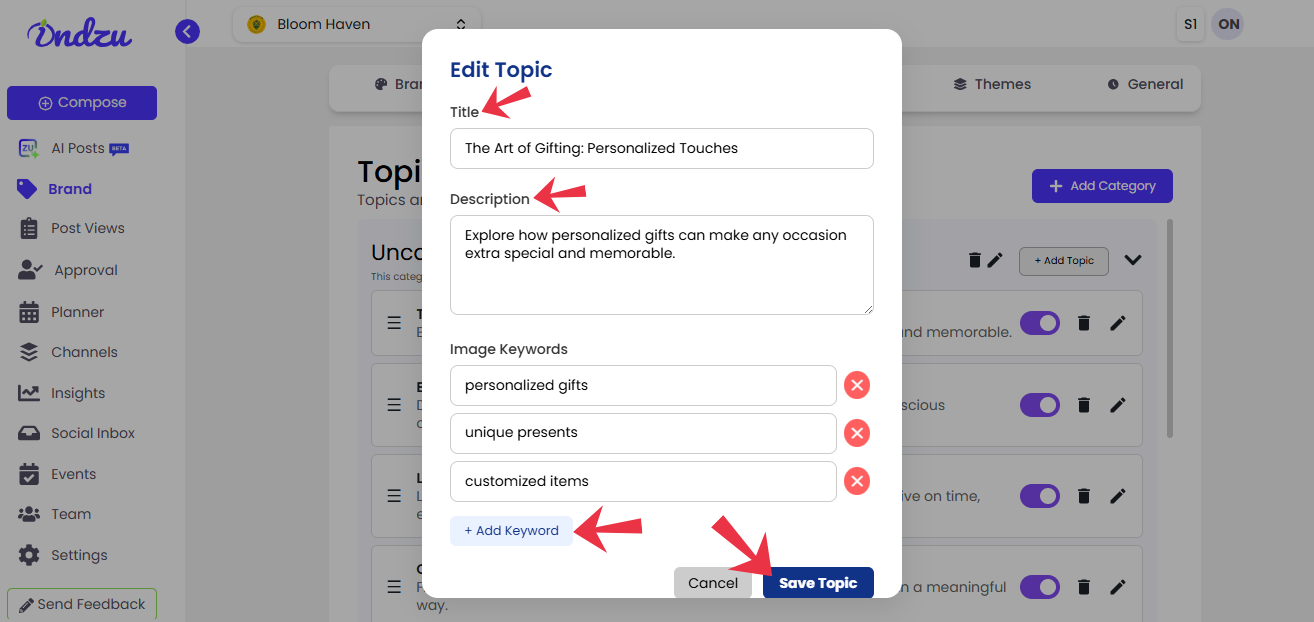
Step 2: Edit the Title, Description, and Image keyword.
Step 3: You can add up to image keywords.
Step 4: Click “Save Topic”.
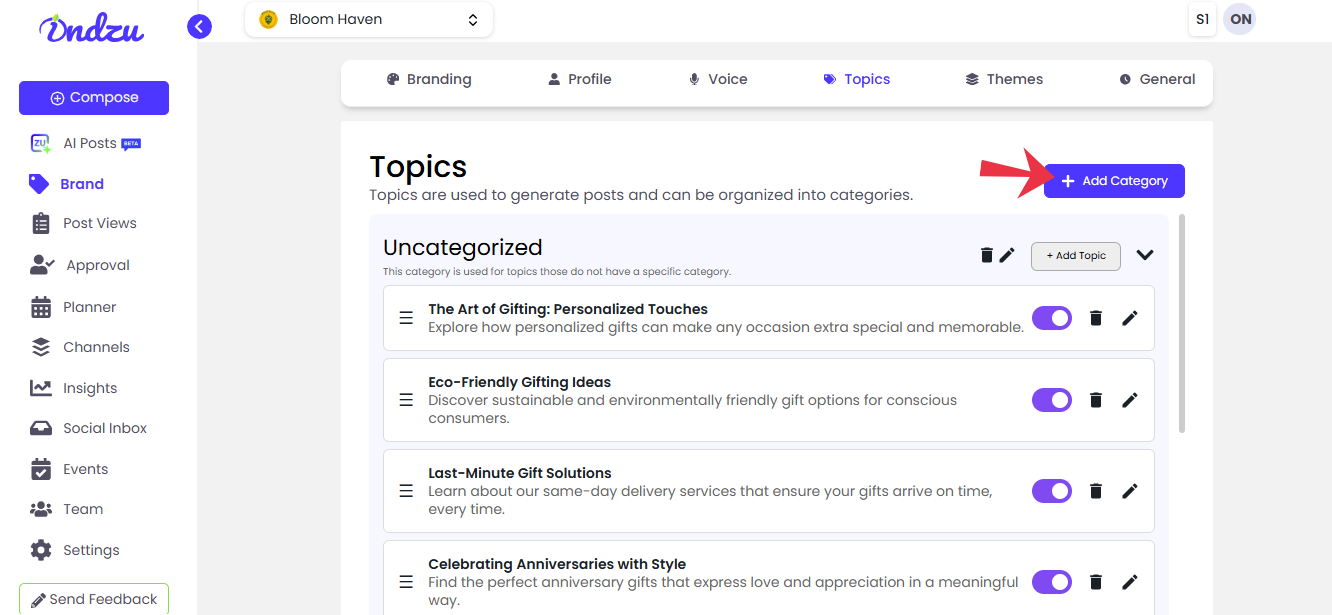
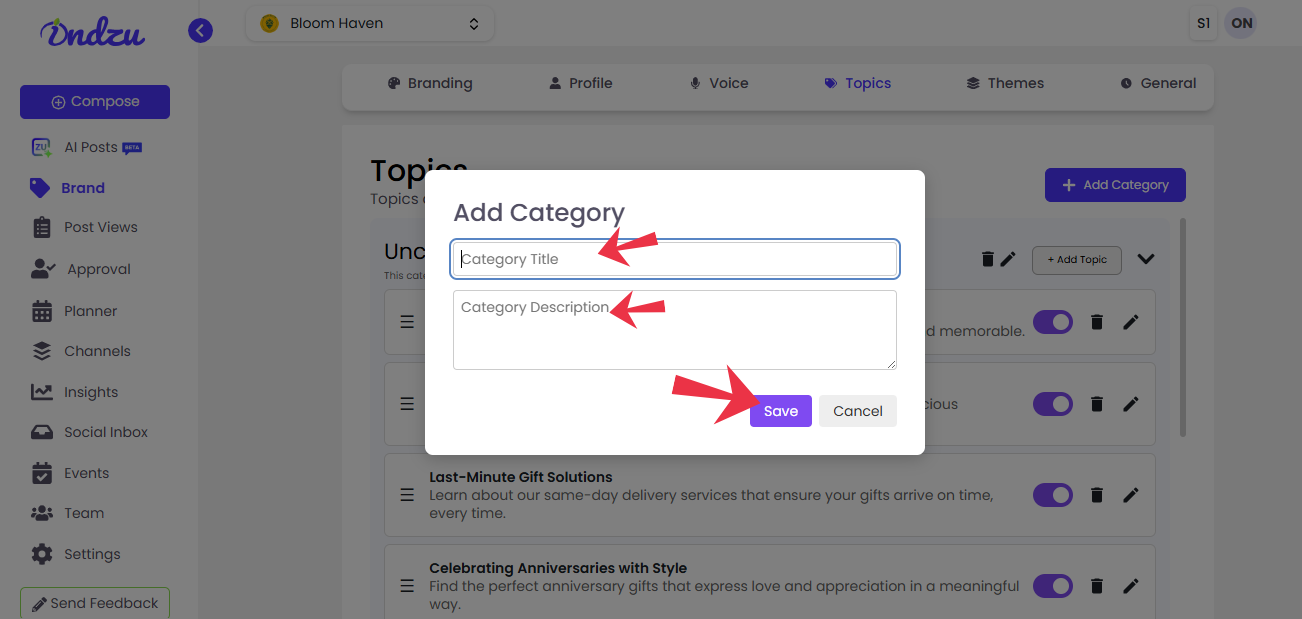
How to add category?
Step 1: Click on “Add category.”
Step 2: Add Category Title and Category Description.
Step 3: Click “Save”.
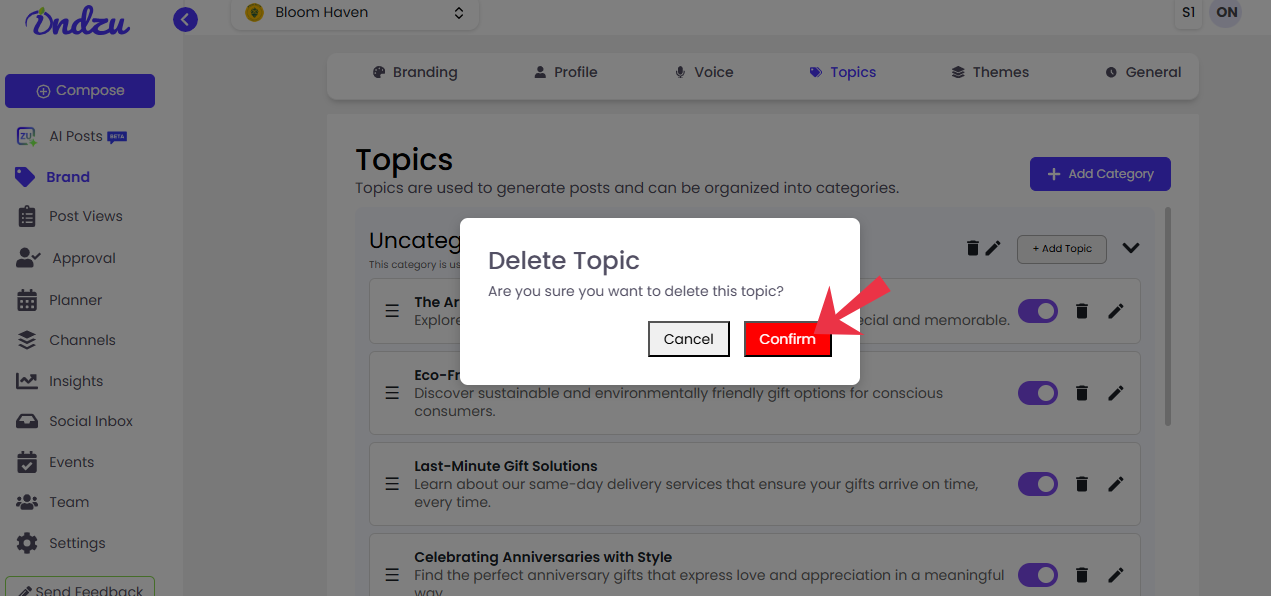
How to Delete the Topic?
Step 1: Click the Delete icon of the topic you want to delete.

Step 2: Click on “Confirm”.
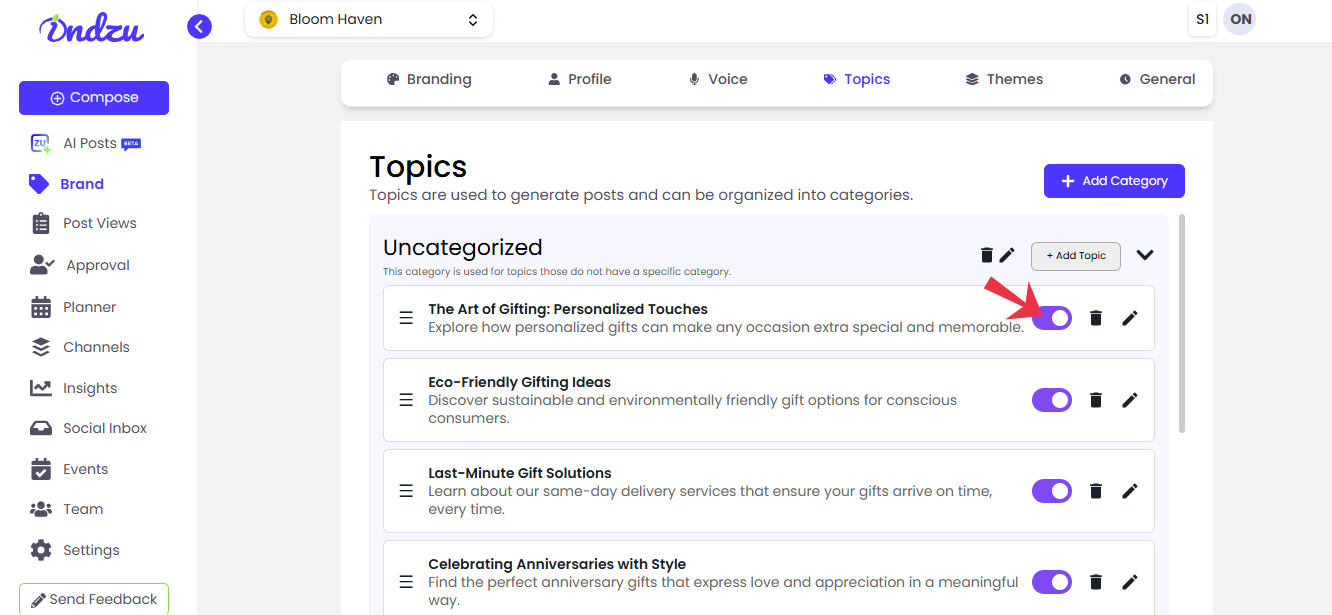
How to Turn off the following topic ?
Step 1: Select the topic you want to turn off.
Step 2: Click the “Turn on and off” button. (When it is blue, it is on, and when it is grey, it is
off).
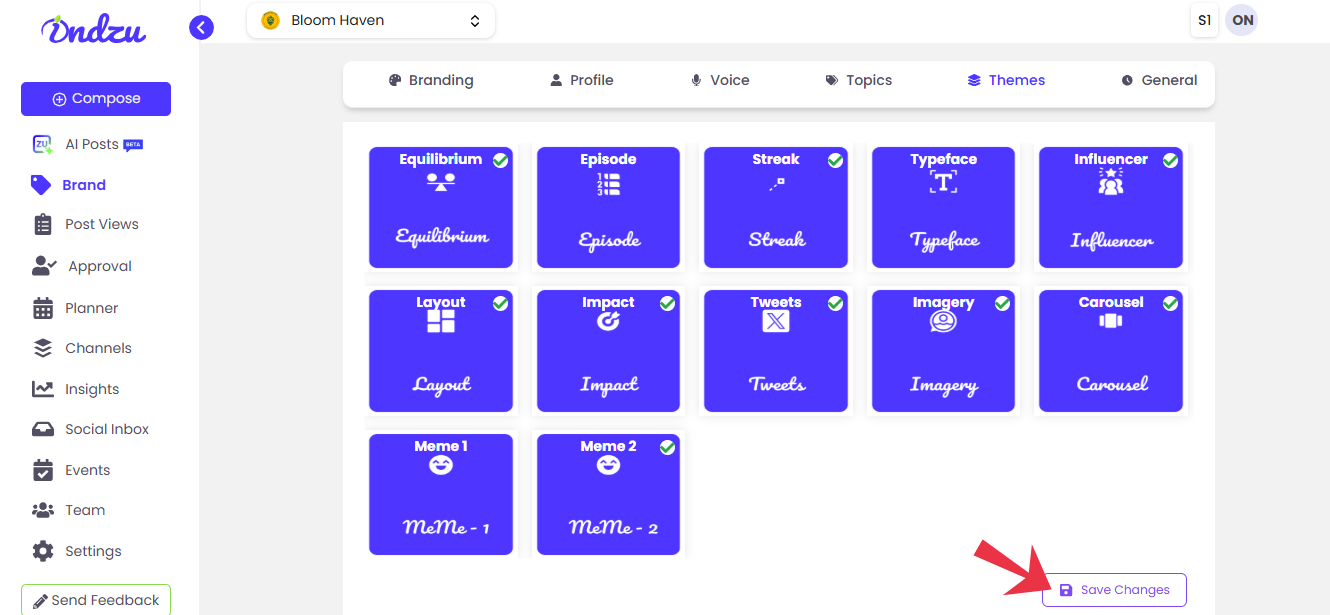
How to change the theme?
There are different types of themes according to which your post will be created.
Equilibrium
Episode
Streak
Typeface
Influencer
Layout
Impact
Tweets
Imagery
Carousel
Meme 1
Meme 2
Step 1: Select the theme in which you want to create your post. ( Once you select your theme, you will see a green tick on the right-hand side of the theme.)
Step 2: Click “Save changes”.
How to change the country code?
In the “General” section under the Brand category
Step 1: Click “Select Country”.
Step 2: Select the country you want to choose.
Step 3: Click “Save changes.”
How to change the Time Zone?
In the “General” section
Step 1: Click “Select Timezone”
Step 2: The time zone will be shown according to the country you choose.
Step 3: Click “Save changes.”